We used hand tools only. It was a great process and it's a fantastic little project.
This project will be offered again in the coming public workshop series I'm offering in June.
 |
| Nice job, Jenny! |
To tantalize you, here is a bit of a look at the process:
It all starts with the materials.
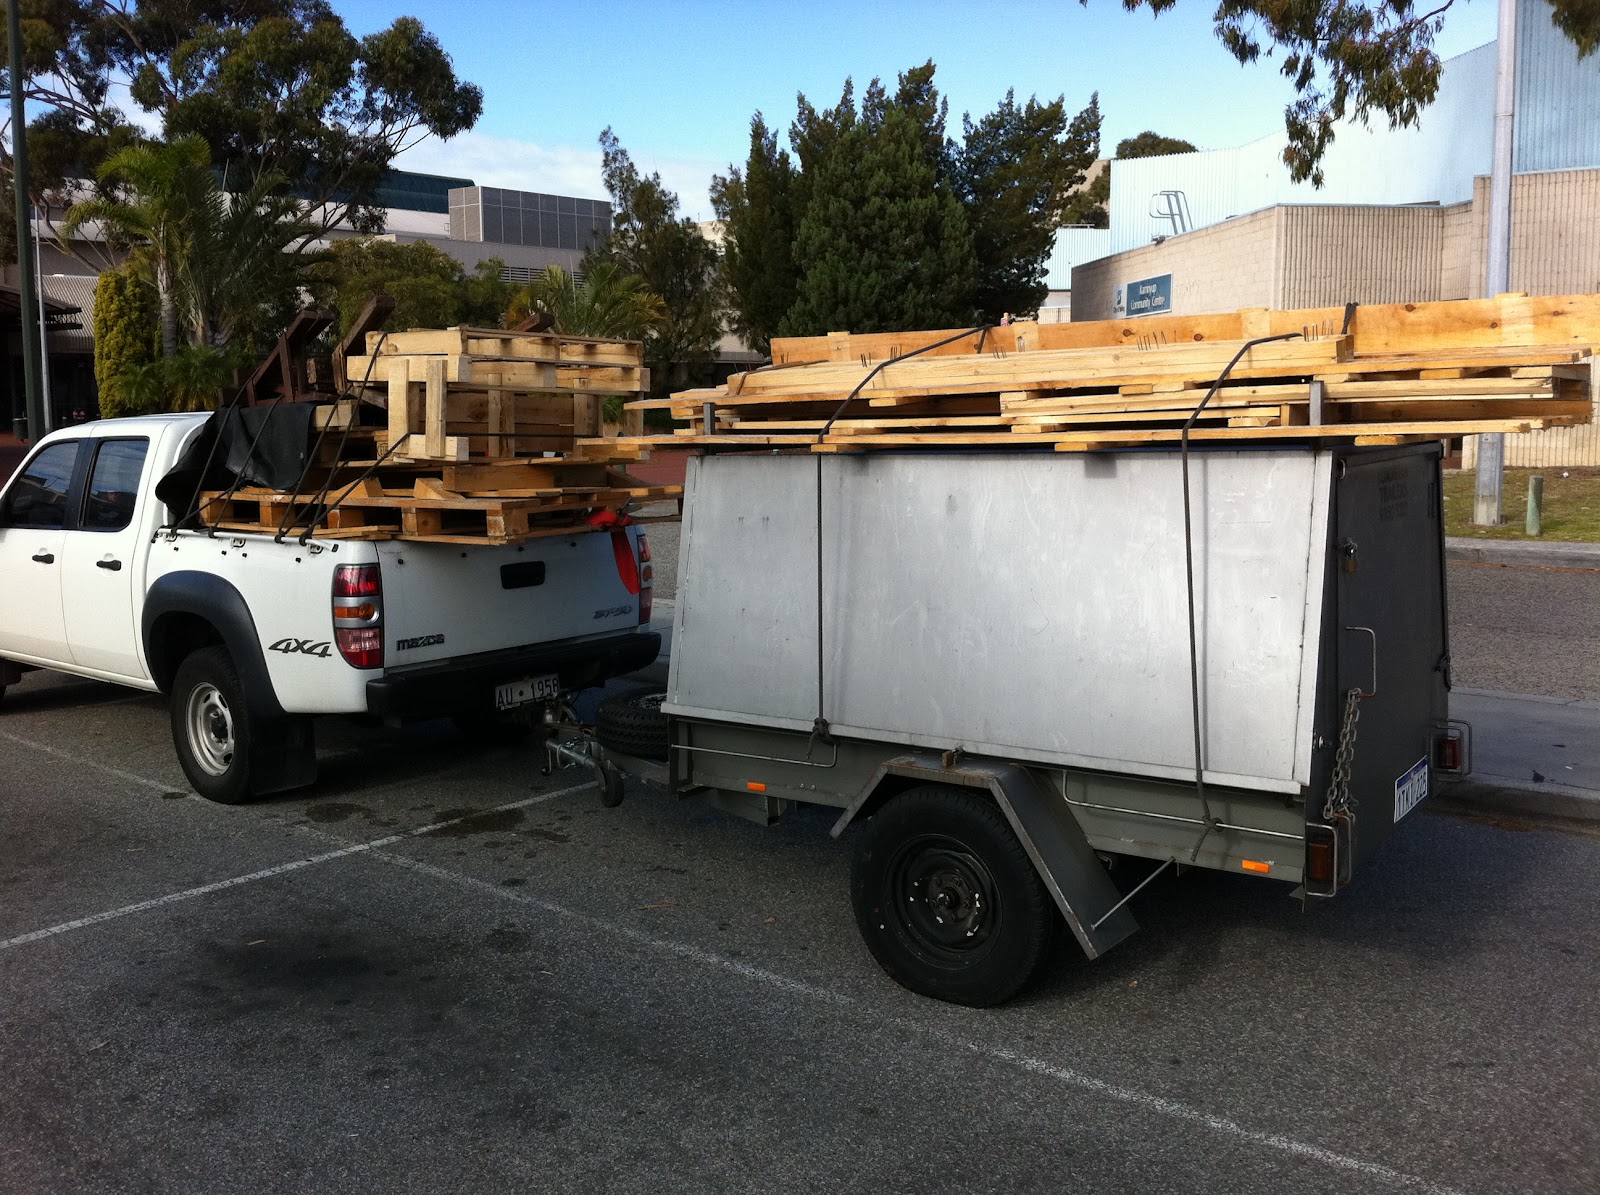
I regularly obtain some beautiful timber from packing crate material. This comes either from the UK or from USA/Canada. I wish I knew what the timbers were. I just refer to them generally as "Northern Hemispherical Softwoods". Much nicer and closer grained timber than the introduced softwoods grown here in Western Australia: Pinus radiata and Pinus pinaster.
 |
| So much potential! That could be a lot of picture frames... |
Tools for shaping the profiles.
While machinery was used to create the blanks from the packing crates, at 60mm x 22mm x 800mm long, hand planes would be used to create the profiles on them. The four sides would be cut from these prior to the cutting of the mitres.
Hollows, Rounds, and designated moulding planes would be used for the decorative profiles on the face and edges. A rebate plane would be used to create the double rebate to house the glass and plywood back. With an adjustable fence and depth stop, the metal (No78) rebate plane is easier to use than a wooden rebate plane without all this "fruit".
 |
| Wooden moulding planes are used to create the profiles. |
 |
| No78 duplex rebate plane is used to create the double rebates. |
The pieces of 3mm clear glass for the frames were 250mm x 150mm (10" x6") in size. I had a bunch of these cut at the glazier's. Therefore, this glass will effectively determine our frame size. To make the frames properly, the back will have a double rebate - one to house the glass and one to house the plywood backing which will be screwed into the rear of the frame. Two pieces of timber at 800mm long (32") would give plenty to cut the 4 frames sides from. Using two shorter pieces, rather than one long piece, would be easier for the planing the profiles. The frame has the double rebate on the back, and a profile on the front side and/or the edges. This profile would be formed with the use of traditional wooden moulding planes. The mitres would be cut and shot by hand, then glued and cramped with a band cramp. While the glue is drying some staples will be put in the back corners of the joints, and the ply back fitted and screwed in place. Flip it over, and start cleaning up the face before the squeeze-out dries. When the glue has dried, off comes the cramp. Final clean up, and coat the frame with whatever finish you're using. When completed, unscrew the back, insert the photo/picture, and fix the back on again. Then all you have to do is decide and apply the hanging method. A great little project.
Cutting the double rebate.
The first task is to create the double rebate on the back of the two pieces of timber.

The drawing above gives a rough idea of how the double rebate works. Apologies to those readers who do not use metric measurements. Set your No78 rebate plane to cut a 7/8" wide rebate, with the depth stop set at 5/32". This will cut the first rebate, which will take the plywood back. When this has been done to both of the sticks, change the setting of the rebate plane to 3/8" wide and 1/8" deep, and cut the next rebate within the first rebate. Hence the double rebate is created. Again, do it to both sticks. That job done, now it's time to create the profiles on the front side and edges.
Cutting the decorative profiles on the front face and edges.
The double rebate drawing above shows a couple of example profiles, cut with wooden moulding planes. I have a growing array of wooden moulding planes, including a number of hollows and rounds, beading planes, sash moulders and more. There are endless possibilities.
 |
| A couple of examples of easily made profiles. You can see the double rebates. |
At this point we won't get into the nitty gritty of using moulding planes - especially untapping the infinite possibilities that hollows and rounds have to offer. We'll save that for another time. It's interesting to note however that for beginners, the simplest method for this project is to use designated moulding planes, like bead moulders and sash moulders. In the pic above, the big sweeping cove (top right) was cut with a No 17 Round (1 3/8"). Left top and right bottom were cut with different radiused bead moulders, and left bottom was cut with a moulding plane commonly used on window sashes. These are designated moulding planes, and each has only one purpose - one profile that it is designed to cut. These are the simplest to use and can still make great profiles for the picture frames.
 |
| Beading plane in use with piece secured on the sticking board. |
Preparing the mitres for the frame.
The pieces of glass we have for this project are 250mm x 150mm (10" x 6"), so the frames would be made to fit this piece of glass. With two 800mm (32") sticks on which we have cut our double rebates and profiles, there is plenty of room to cut the 4 pieces. Much of this pine we're using is from packing crates from the USA. Lower grade younger material is used for packing crates - hence there are quite a few small knots amid the material. The extra material means we've prepared enough to be able to avoid nasty knots, tear-out and other blemishes, as we cut the mitred components. Beaudy.
 |
| Check the fit of the mitres in a test drive with the band cramp. |
Allowing about 2mm extra overall for the glass to fit, the mitres are marked with mitre square (like on a combination square) and these are cut by hand with a carcass (tenon) saw and a bench hook.

These are then cleaned up with a block plane using a mitred shooting board. This removes saw marks, inaccuracies, and makes for well fitting clean joints. The four prepared components are put together for a test run with the band cramp.

If necessary, the joints are tweaked further with the block plane on the shooting board until all four mitred corners are coming together beautifully.
Gluing up the frame.
My favourite glue for this kind of project is Titebond III. It's strong and dries quickly. Ideal for a gig like this. End grain tends to soak up the glue, so I stick it on all the surfaces, then re-apply on all surfaces again before putting the band cramp around the frame. You can't beat the finger for good glue spreading! A bit of tweaking of each joint alignment before the cramp is tightened, and then the pressure is applied. A cramp like this hold the corners together under pressure beautifully. I do this rebate side (back) facing up. A damp rag is used to clean up squeeze-out. This type of cramp is good because we can get on with cleaning up the joints while the frame is still in the cramp. For this job, there is no additional dowel, spline, or other device to secure or align the joint. The glue does the trick and is enough, because the plywood backing will be screwed into place, adding a significant degree of strength to the whole frame.

However, I also often apply a couple of staples from a manual upholsterer's staple gun across the joint in each rear corner for additional strengthening, just like picture framers commonly do. Probably not necessary, but I do it because we keep working on the frame while the glue is drying and it is still in the cramp.
Fitting the backing.
Unlike cheap frames which have one rebate which holds both the glass and backing, the double rebate with the backing screwed into it's rebate creates a far superior and more durable frame. If this one falls off the wall the frame will not break. It is tough and made really well, as the fixed plywood backing adds considerable structural integrity.
The plywood is cut to fit to be housed into the rebate. Small screws, about 1/2" x 6g are used, about 2 per side = 8 screws total. Using a hand drill and countersink, the holes in the plywood re prepared. With the pine frame, there is no need to drill the frame. A spiral ratchet screwdriver can pump the screws in easily. The frame can now be cleaned up with sandpaper if you wish, again while the cramp remains in place. The outside edge of the frame is cleaned up once the cramp is removed.
 |
| Cleaning up the completed frame with a light sanding. |
Job done.
The cramp is removed, the light sanding completed, and the frame is ready to receive a finish once the backing is removed.
The glass would then be cleaned and inserted, the photo or picture fitted, and the backing screwed back in place. The hanging method would then be applied and the picture hung. Nice job!
Such a great little project. Thanks to Ryan for the funky photos in this post.
It's a heap of fun to create such beautiful well made frames by hand - from packing crate material.
The No78 rebate plane and wooden moulding planes are a joy to use, too.
Come and be part of the fun...