The kitchen I have been making by stages is completed structurally. It's time to make the drawers, before the doors and drawer fronts are made and hung. These doors and drawer fronts will be made with WA Blackbutt (Eucalyptus patens), as per the framing and end panels.
 |
| One section of the big kitchen ready for appliances, end panels, drawers and drawer fronts and doors. |
My customer has a huge pile of New Zealand grown pine - either Pinus radiate or Pinus pinasta - which she picked up from a local furniture manufacturer who was closing down. Sadly, yet another furniture maker put out of business by the West Australian public choosing to buy cheap Chinese imports rather than supporting their local industry. But that's another story...
Somehow, the Kiwi's can grow much nicer pine than we can grow in Australia, especially Western Australia where we grow those same two species. I suspect it's a climate thing as well as a plantation management issue. Anyway, this awesomely nice material, in random lengths of material all dressed to 175x19mm (7"x3/4"), was what I would be making the drawers from. No nasty white melamine!
Preparing the material.
As most of the drawer sides would be wider than the 175mm stock, I would need to glue up the material to make the width. The least wasteful way to do this would be to edge glue up the boards.
 |
| One of many bunches of boards glued up, in cramps. |
Once glued up, these wide sections would be ripped down to the required widths to make the drawer sides. These would in turn be reduced down in thickness to the required 15mm (almost 5/8").
The strongest and most reliable jointing method for the boards was to glue them up with a "lightning joint". The two parts are done with a carefully set up single router cutter - one side cut from above, the other side cut from below. The two components fit together, a type of tongue and groove joint, which more than doubles the glue surface area. Nice.
 |
| A lightning joint, seen here after the material had been reduced down to the 16mm thickness. |
With the material ripped slightly oversize, one edge was shot over the buzzer then these were ripped accurately to width over the table saw. These were then docked to the correct lengths required for the drawer box sides, fronts and backs. It was time to cut the dovetails.
Cutting the dovetails - first the tails.
Tails first, no argument. With the marking gauge set at 0.5mm wider than the drawer side material, a scribe line was made all the way around the front end of each drawer side. This would be the base line for the joints. The spacing of the dovetails were then planned, making sure that the drawer bottom groove would fit behind the bottom tail. The spacing positions were then marked onto an offcut, to make it easy to transfer the marks onto each of the drawer side outer front edge faces.
 |
| Transferring the critical marks onto the end of the drawer fronts. |
Setting the sliding bevel at an angle of 1:7, a very sharp pencil was used to mark out the tails.
 |
| Marking the tails from the critical marks, using the sliding bevel. |
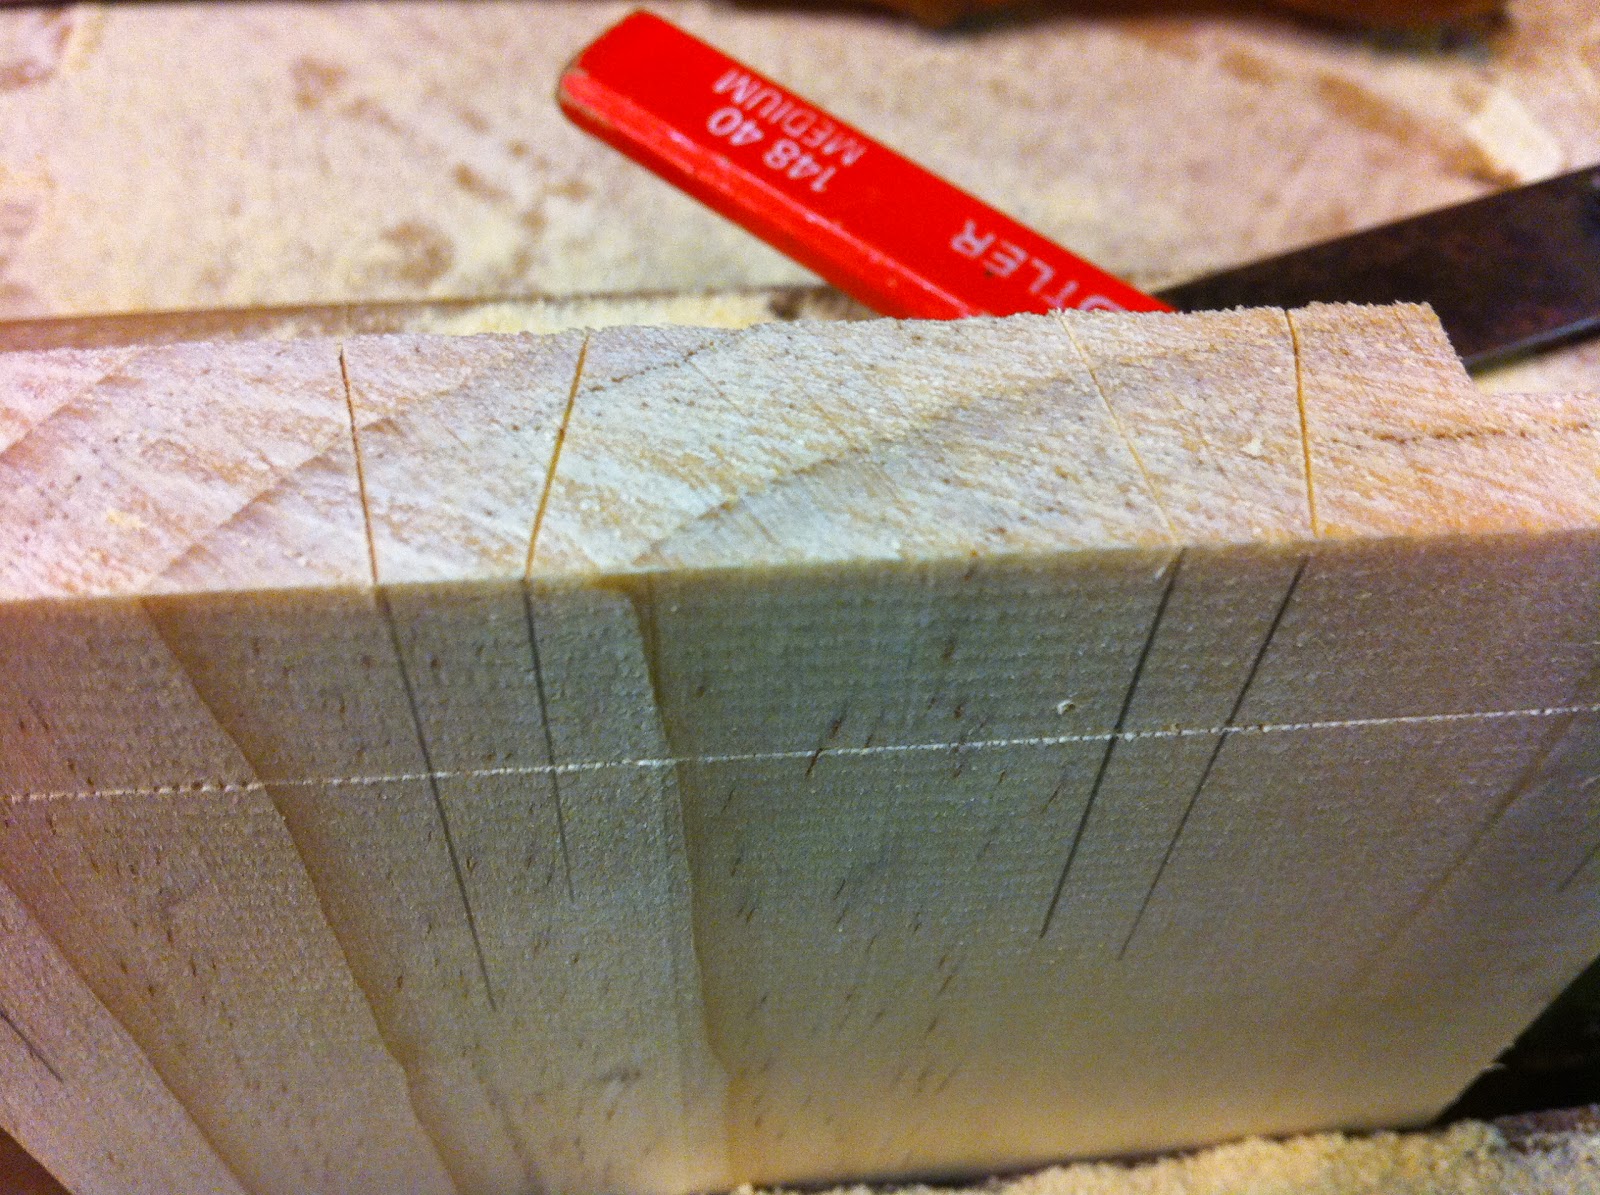
With the tails marked, the next step was to square off from the lines across the end of the drawer sides. This just helps to ensure the cuts made are nicely at 90 degrees through the material.
 |
| Marking the lines across the top of the drawer side front ends. |
 |
| That's what we're looking for. Nice clean lines on two adjacent faces, the waste marked. |
With the tails marked ready for cutting, it was time to produce the tails. The drawing of the pencil lines down well below the base line makes it easier for the eye to align the saw plate - in other words, it's a trick which helps cut nice joints.Surplus pencil lines are cleaned when the completed drawer is cleaned up.
 |
| Using a nice little Gents Saw to cut the sides of the tails. Very fine teeth, minimal set, filed for ripping. |
The next stage was to cut out the waste, using a coping saw. Just down close to the line.
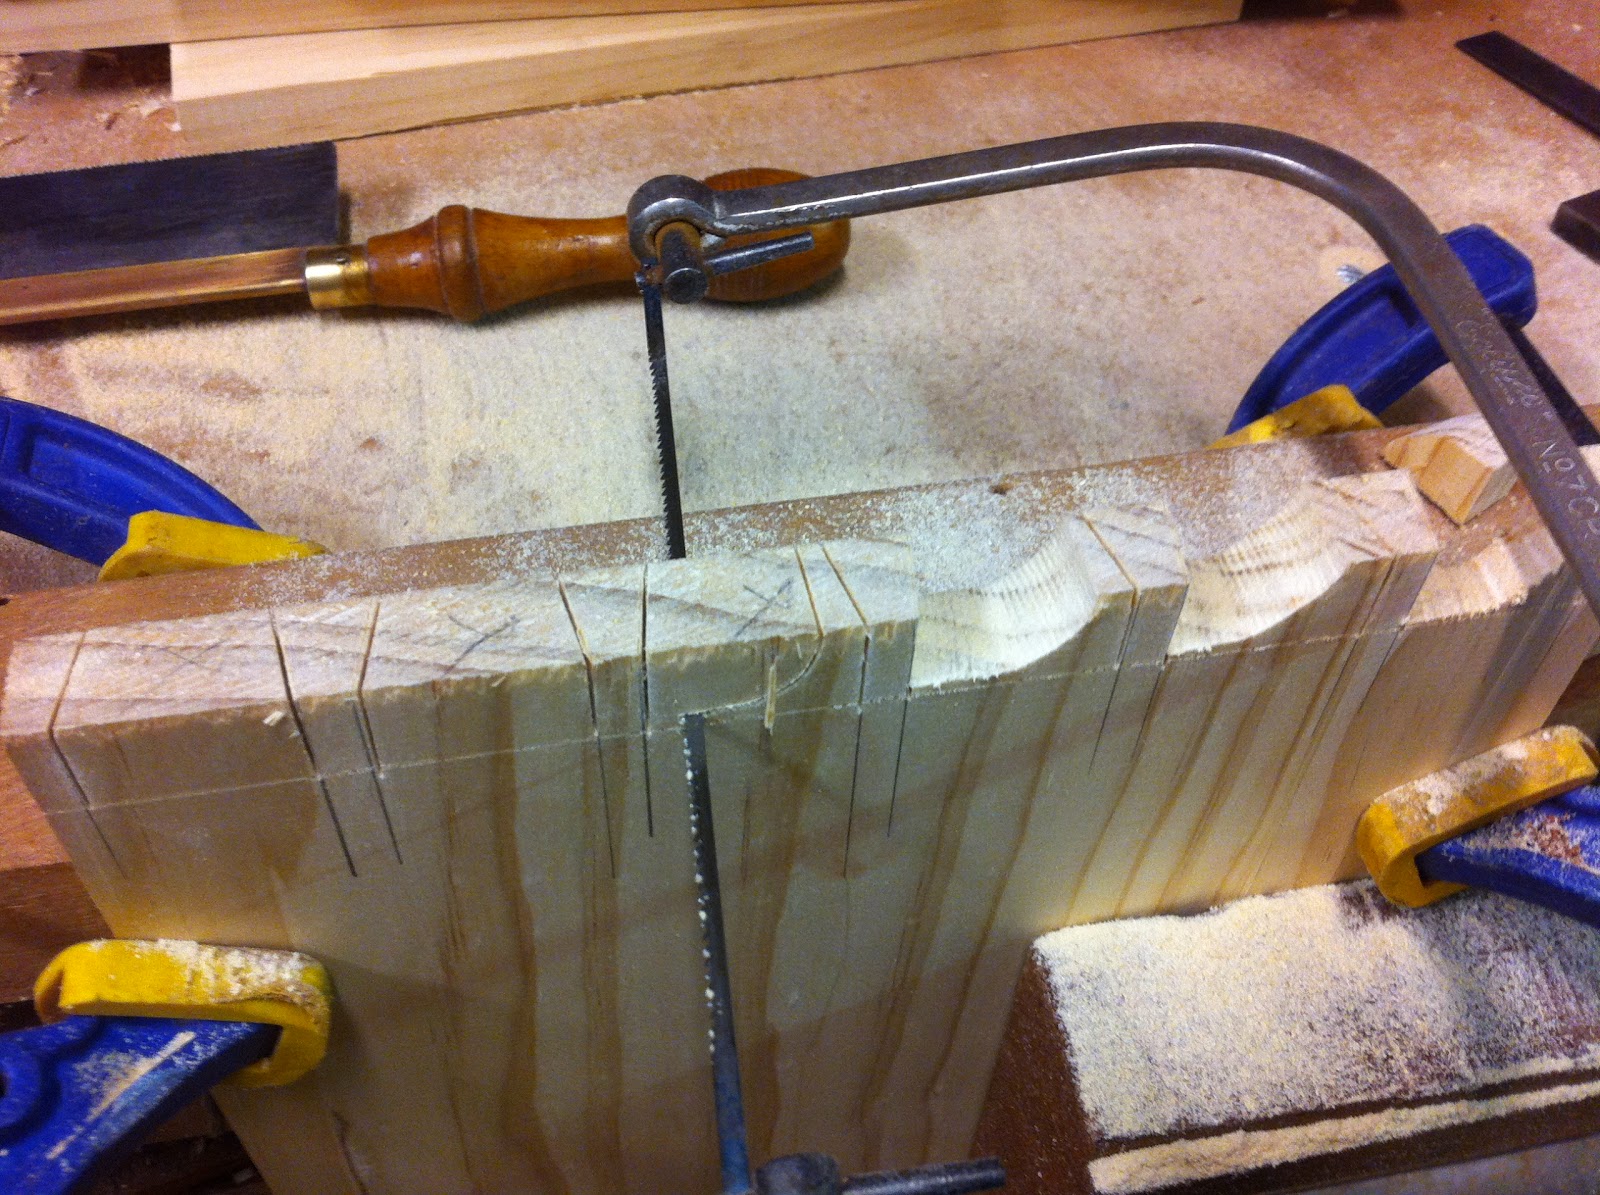 |
| First this way... |
 |
| Then that way... |
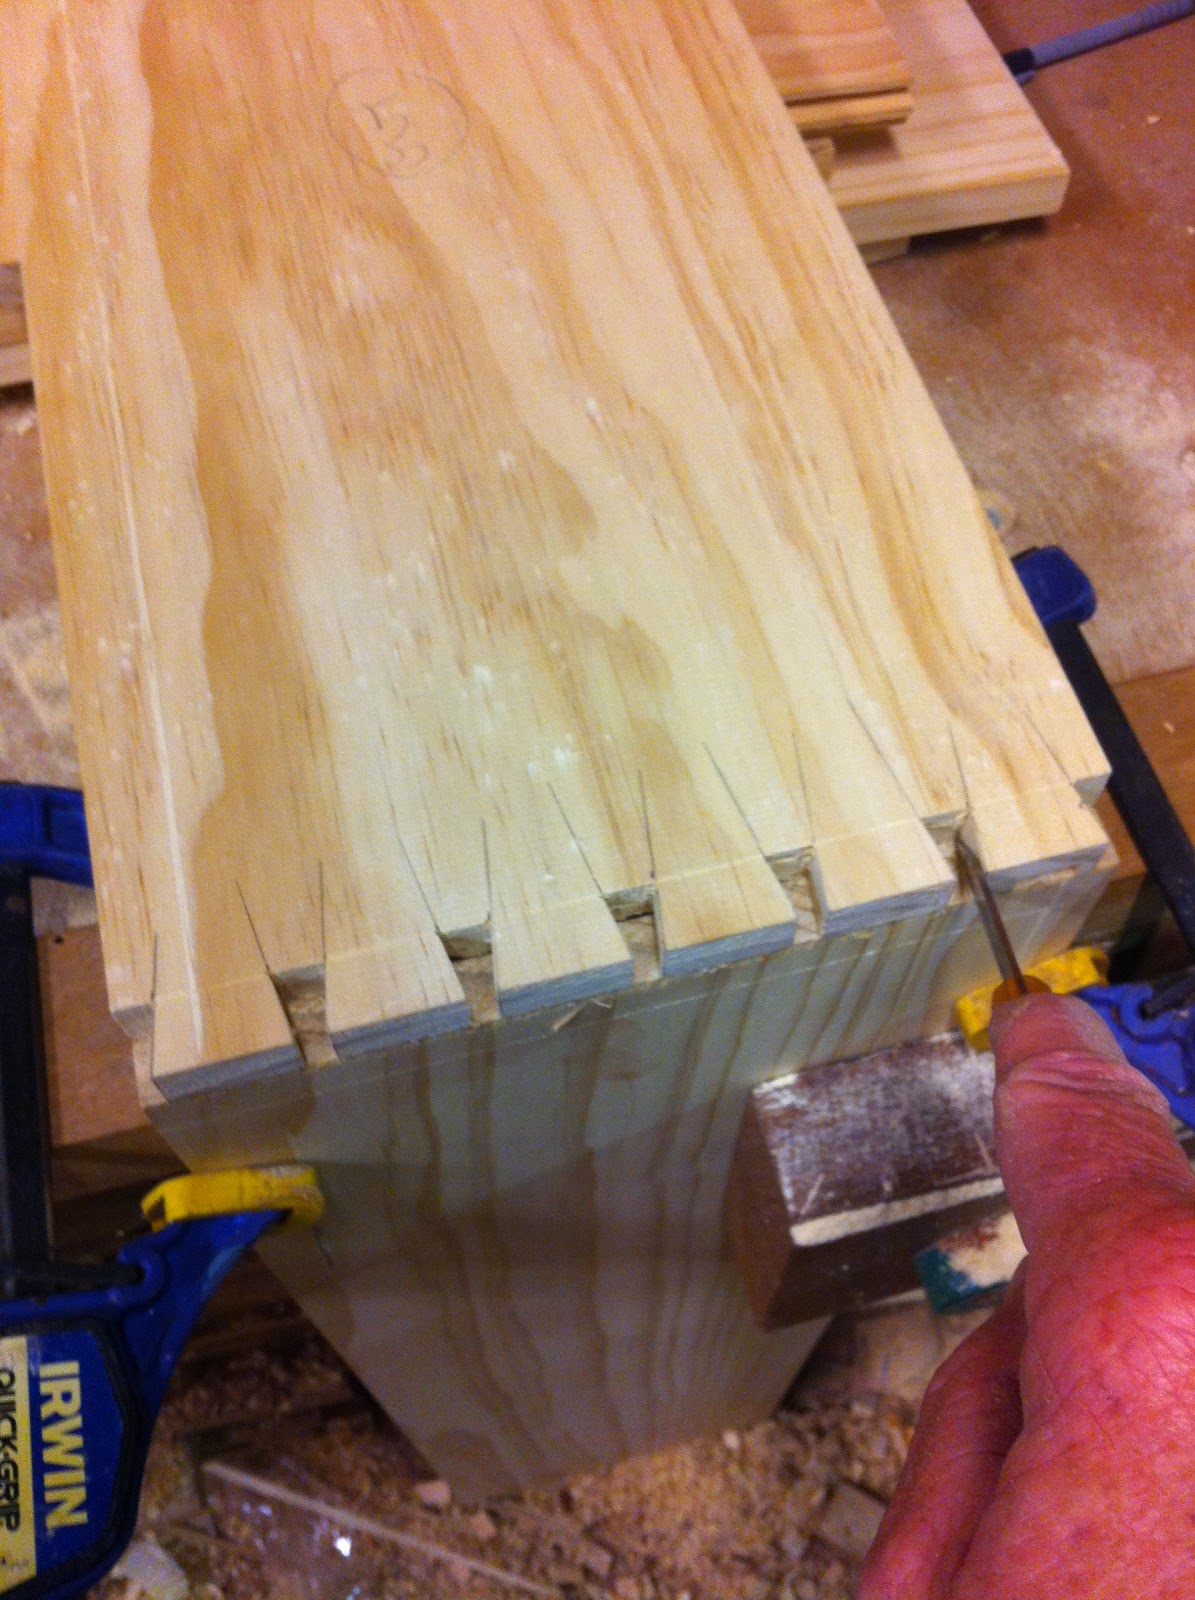
With the bulk of the waste removed with the coping saw, the last of the waste needs to be removed exactly to the scribed base line. With hardwood, this is easily done with a nice sharp chisel. Cheesy pine, on the other hand, even nice NZ grown pine, does not cut well across the end grain, even with a razor sharp chisel.
I did the first few with a chisel, and it was chunking out too much between the scribe lines. This would reduce the strength of the joint, even though it would look like a million dollars on the outside. So another alternative was to set up the bandsaw to cleanly take out the remaining waste exactly down to the scribed base line - without chunking out the end grain. The last little bits remaining at the base of the tails are then taken out with a chisel of a knife.
 |
| The stop board fixed at the back ensures the blade stops exactly at the base line. |
Using the bandsaw in this way to finish removing the waste after the coping saw is very quick (so long as there is minmal material to remove) and accurate - but in this case it was done to maximise the joint strength in the nice but cheesy pine.
 |
| Drawer sides with tails cut. Time to cut the housings for the backs and the drawer bottoms, |
Cutting the housing grooves for the drawer backs and bottoms.
With the tails all cut in the drawer sides, it was time to cut the grooves to house the base and the backs. The groove would also be cut in the drawer box front, even though the pins for the dovetails have not been cut yet. The cutting of the housing grooves would be a table saw job.
The position of the groove to house the drawer bottom is determined by two important things: the thickness of the material to be used in the bottom (15mm, same as the drawer sides) and the specs required by the drawer runners. My customer wants the Hettich brand modern soft-closing drawer runners. The bigger drawers with 50kg capacity and the smaller ones with 30kg capacity. While most of these drawer runners in modern conventional kitchens are used with the pressed metal sides and melamine bottoms, Hettich does make a version specially made for wooden drawer sides. They had to come from Sydney, but eventually they arrived.
The specs for these runners determine the drawer dimensions to fit within the opening in the frame, and the position of the runners which are fitted below the drawers. The drawer sides are required to hang 12mm (1/2") below the underside of the drawer bottom.
 |
| Saw blade protruding 7mm above the table, 12mm between blade and fence. First cut, base and back. |
The groove position at the base would also be done at the back. Easy on the same saw setting.
 |
| Inside and outside cuts made. Now to take out the waste between these. |
 |
| After the saw removed most of the waste, a No70 router plane quickly cleaned up the groove bottoms. |
With the grooves cut in the drawer sides and the drawer box faces, it was time to complete the cutting of the dovetail joints. Now to cut the pins. This could have been done before the grooves were cut, but I chose to do it this way around - only because it suited me with the material preparation sequencing.
Cutting the dovetails - now the pins.
This is an important part of hand cutting dovetails, and accuracy will be important to get good joints. With the drawer box fronts held vertically in a vice at the bench, the corresponding drawer side is placed on top and aligned in exactly the right position. Held here, a marking knife is then used to mark along the sides of the tails.
 |
| Transferring the tail marks onto the end of the adjoining member. |
A straight piece of timber is clamped to the drawer box front, to keep it flat. This helps to create a more accurate joint.
 |
| Using a pencil and small square to carry the scribe lines down the outside face beyond the scribed base line. |
 |
| These pencil lines will help enable accurate saw work. |
 |
| It's pretty quick to do the cuts - always on the waste side of the scribe lines. |
 |
| Dovetail pins and tails all cut for this batch of Drawer sides and fronts. |
Putting it all together.
The remaining components were made: the drawer backs and bottoms, The bottoms were made each with three boards, held together with tongue and groove joints were they met. I had cut these T&G joints on the table saw. These boards in the base, and the backs, were housed in the grooves in the drawer sides. The drawer bottom extends beyond the underside of the drawer back. It's a traditional way of doing it - at least here in Australia. With all the pieces made, the drawers could be assembled.
 |
| One bank of three drawers made and ready to be polished before fitting the drawer runners. |
 |
| Nice completed dovetails! No filler, no jigs, just good accurate marking and cutting. |
These are all "through" dovetails rather than "half blind dovetails", because the drawer fronts, to be made from WA Blackbutt, will be fitted onto the front of each of these drawers.
These days Dovetails have a particular mystique about them. However this is really a phenomenon of the modern era, a kind of reaction to the diminished standard of craftsmanship which had become apparent in the later end of the 20th century. Thus the dovetail joint has become a kind of hallmark of quality for the discerning consuming public. Though most people couldn't tell the difference between the hand cut dovetail and the machine cut dovetail, a discerning person can pick the difference.
Contrast this with the past, where the dovetail joint was just a practical, reliable, and strong joint - mechanically ideal for use in the front of drawers. (and many other situations and functions) They were normally cut by hand by the tradespeople who were just doing their jobs constructing the furniture. No fanfare. Just nice durable joints.
So here we are today. A top quality custom kitchen in the modern idiom needs to have good quality hand cut dovetails to reflect something of that inherent quality. On the practical side, the dovetail joint mechanically remains the ideal joint to withstand the stresses imposed on a drawer being pushed and pulled over decades.
Drawers and dovetails. They are a natural fit.
They are also a pleasure to cut by hand - a very satisfying process. Quality to be proud of...
.jpg)